Grandma Pizza for Precision Oven 2.0

Kate Itrich-Williams
November 22, 2024
NOTE: This recipe is optimized for the Precision Oven 2.0. If you have a Precision Oven 1.0, search for "Grandma Pizza."
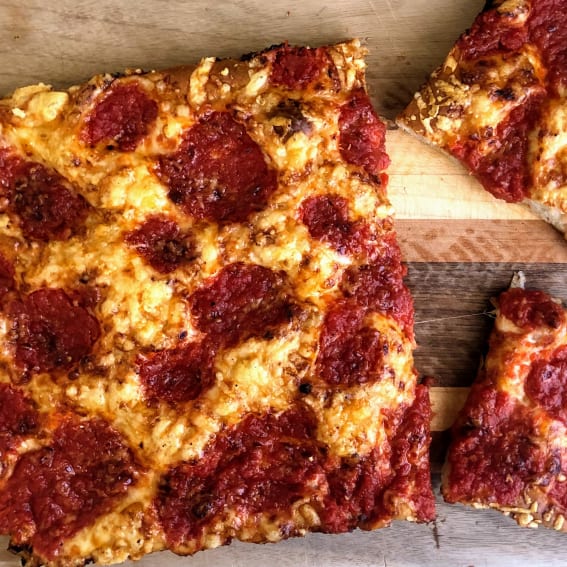
Thought to have originated on Long Island in New York, grandma-style pizza gets its name from the fact that it is a home-style pie that doesn’t require fancy pans or a wood-fired oven to cook. While it is baked in a square or rectangular pan, similar to a Sicilian pie, grandma pizza is typically thinner, crisper, and, according to Peter Reinhardt, baked just once.
Baking grandma pizza in the Anova Precision Oven has a few advantages: First, you can take advantage of a low heat steam setting to bring the dough, which is best made with a long, cool rise in the fridge, to room temperature quickly, and then use this setting a second time to proof the dough. Once you’re ready to bake, use the bottom heat setting to crisp the bottom of the pizza before switching to full oven heat to brown the top.
Serves
4
Prep Time
24:35
Cook Time
01:00
0
112
Ingredients
235 grams (1 1/2 cups)
bread flour
177 grams (3/4 cup)
water
3 Tbsp
extra-virgin olive oil, divided
¾ tsp
instant yeast
1.25 tsp
kosher salt, divided, plus more to taste
1 (14-ounce) can
whole tomatoes, well drained
1.5 tsp
red wine vinegar
½ tsp
garlic powder
¼ tsp
dried oregano
0.125 tsp
red pepper flakes
170 grams (1 1/2 cups)
grated low-moisture mozzarella cheese
14 grams (2 Tbsp)
grated Parmesan cheese
Steps
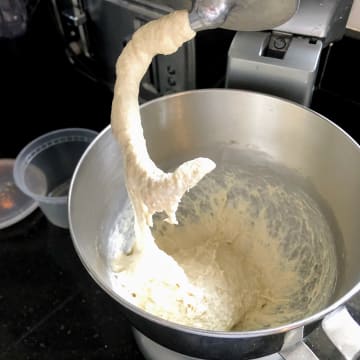
1. Knead the Dough
Combine the flour, water, 1 tablespoon olive oil, yeast, and ¾ teaspoon salt in the bowl of a stand mixer fitted with the bread hook attachment. Mix on low until combined into a shaggy mass, then increase the speed to medium-low and knead for 10 minutes. The dough will still be very sticky and wet, but will have dramatically increased in stretchiness. Transfer to a greased quart container, cover, and refrigerate for at least 8 or up to 24 hours.
2. Preheat the Oven
Rack
The next day, turn on the oven.
Sous Vide Mode: Off
Steam: 10%
Temp: 86°F
Heat: Rear
3. Grease the Pan
While the oven is heating, grease a quarter sheet pan with the remaining 2 tablespoons olive oil. Place the dough in the center of the pan.

4. Bring the Dough to Room Temperature
Rack
Transfer to the oven and let come to room temperature, 20 minutes.
Sous Vide Mode: Off
Steam: 10%
Temp: 86°F
Heat: Rear
00:20 Timer
5. Proof the Dough
Rack
With damp fingers, gently press and stretch the dough out to the edges of the pan. Return to the oven to proof until puffy, 15 minutes.

Sous Vide Mode: Off
Steam: 10%
Temp: 86°F
Heat: Rear
00:15 Timer
6. Adjust the Oven for Baking
Rack
Remove the dough from the oven and then adjust the oven settings.
Sous Vide Mode: Off
Steam: Off
Temp: 425°F
Heat: Bottom
7. Make the Sauce
While the oven heats, make the sauce: Combine the tomatoes, vinegar, garlic powder, oregano, red pepper flakes, and remaining ½ teaspoon salt in a food processor. Pulse until the mixture is fairly smooth, 5 one-second pulses. Season to taste with additional salt.

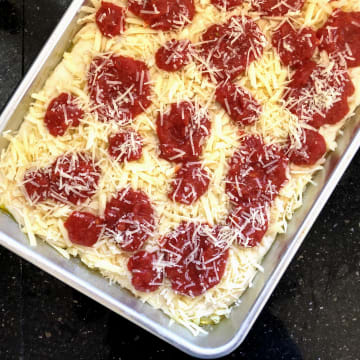
8. Top the Pizza
Once the oven is heated, top the pizza: First sprinkle the mozzarella evenly across the crust, making sure that it runs to the edge of the dough. Dollop the sauce on top of the cheese, then sprinkle evenly with the Parmesan.
9. Start the Bake
Rack
Transfer to the oven and bake with bottom heat for 10 minutes.
Sous Vide Mode: Off
Steam: Off
Temp: 425°F
Heat: Bottom
00:10 Timer
10. Finish the Bake
Rack
Let the oven adjust to top heat. Continue to bake until the pizza is deeply browned and the cheese is crisp, about 15 minutes.
Sous Vide Mode: Off
Steam: Off
Temp: 425°F
Heat: Top
00:15 Timer
11. Slice and Serve
Remove from the oven and let cool in the pan for 5 minutes. Run a thin metal spatula along the edge of the pizza, then carefully transfer to a cutting board. Serve immediately.

© 2013 - 2026 Anova Applied Electronics, Inc.